Cloud Quickstart
CS Cloud Quickstart Guide
This guide will give you an introduction to using the Computer Science cloud, instructions on starting a simple kubernetes pod, basic networking concepts, and how to use storage. We will show how to things both in the web user interface and through command line access.
Introduction
The CS cloud is a container-as-a-service resource. It allows you to run Docker based containers on our hardware. Containers allow you to encapsulate your application with all it's needed dependencies and allows the containerized application to run just about anywhere. The CS cloud is based on kubernetes cluster which is a open-source container orchestration system. We also use Rancher as a UI and proxy interface.
Accessing the Cloud
You access the CS cloud through https://cloud.cs.vt.edu By default, all users get access to the "testing" cluster. This cluster is available for users to play with kubernetes, develop their containerized applications, and Techstaff to test updates to the system. Critical services should not be run on this cluster, we will have other clusters available to actually run containerized user services. You can also use the Rancher UI to control your own kubernetes cluster(s) allowing you to share your personal cluster with others in the department. This can even work behind a private network.
Creating a Project
When you first log into https://cloud.cs.vt.edu it will show you the clusters you have access to. Normally, this will only be the "testing" cluster. Also, you won't have any Projects unless someone has shared a Project with you. To get started, you will need to create a Project and a Namespace inside that project:
The Project will need to created through the web interface.
- Select "testing" cluster by either clicking the name in the list, or selecting it from the top left menu (Global -> Cluster: testing).
- Select "Projects/Namespaces" on the top menu
- Click on the "Add Project" button to create a Project
- "Project Name" is the only required field, it set at the cluster scope so the name can conflict with other users' project names. I suggest pre-appending your username to the project name, for example: user-project1
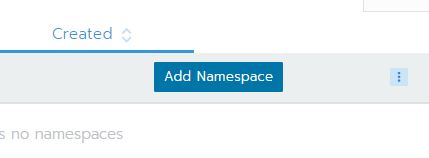
- After you create your project, it will take you to a screen that will allow you to a add namespace to your project.
- Namespaces allow you to group Pods and other resources together, this namespace translated to the Kubernetes namespace so again the names can conflict with other users. Example name: user-project1-web
- Click on the "Add Namespace" button to create a Namespace
- "Name" is the only field needed
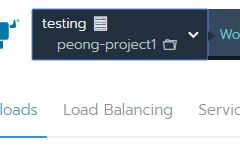
- Click on the Project's title or use the top left menu to select your new Project. This will take you to the Project's page.


